The Uni
The Uni is a unibody split ortholinear mechanical keyboard built for stenography. Learn how to set up your keyboard.
1. Download Plover
To use the Uni, you must first download Plover. Learn how to download Plover here: Download Plover
2. Connect with Plover
Before you start, look at the back of the box that came with your Uni. If it shows instructions telling you to select a GeminiPR machine, you have a GeminiPR device. If it shows instructions regarding Plover HID, you have a Plover HID device.
Gemini PR
See instructions on how to connect a Gemini PR device here: Connect with Plover
Alternatively, you can upgrade your firmware to use Plover HID by following the instructions here: Plover HID
Plover HID
If you have a Plover HID keyboard, see instructions below.
Go to Configure > Machine, and select "Plover HID" from the drop down menu. Click "Apply".
Then on the main page, under "Output", click "Enabled". Test that it is working by opening up the "Paper Tape" dialog and typing on the keyboard.
⚠️ If that didn't work, see instructions below.
If the box has instructions telling you to select Plover HID, you have a Plover HID device. Double check the instructions above, and see troubleshooting tips here: Troubleshooting
More Information
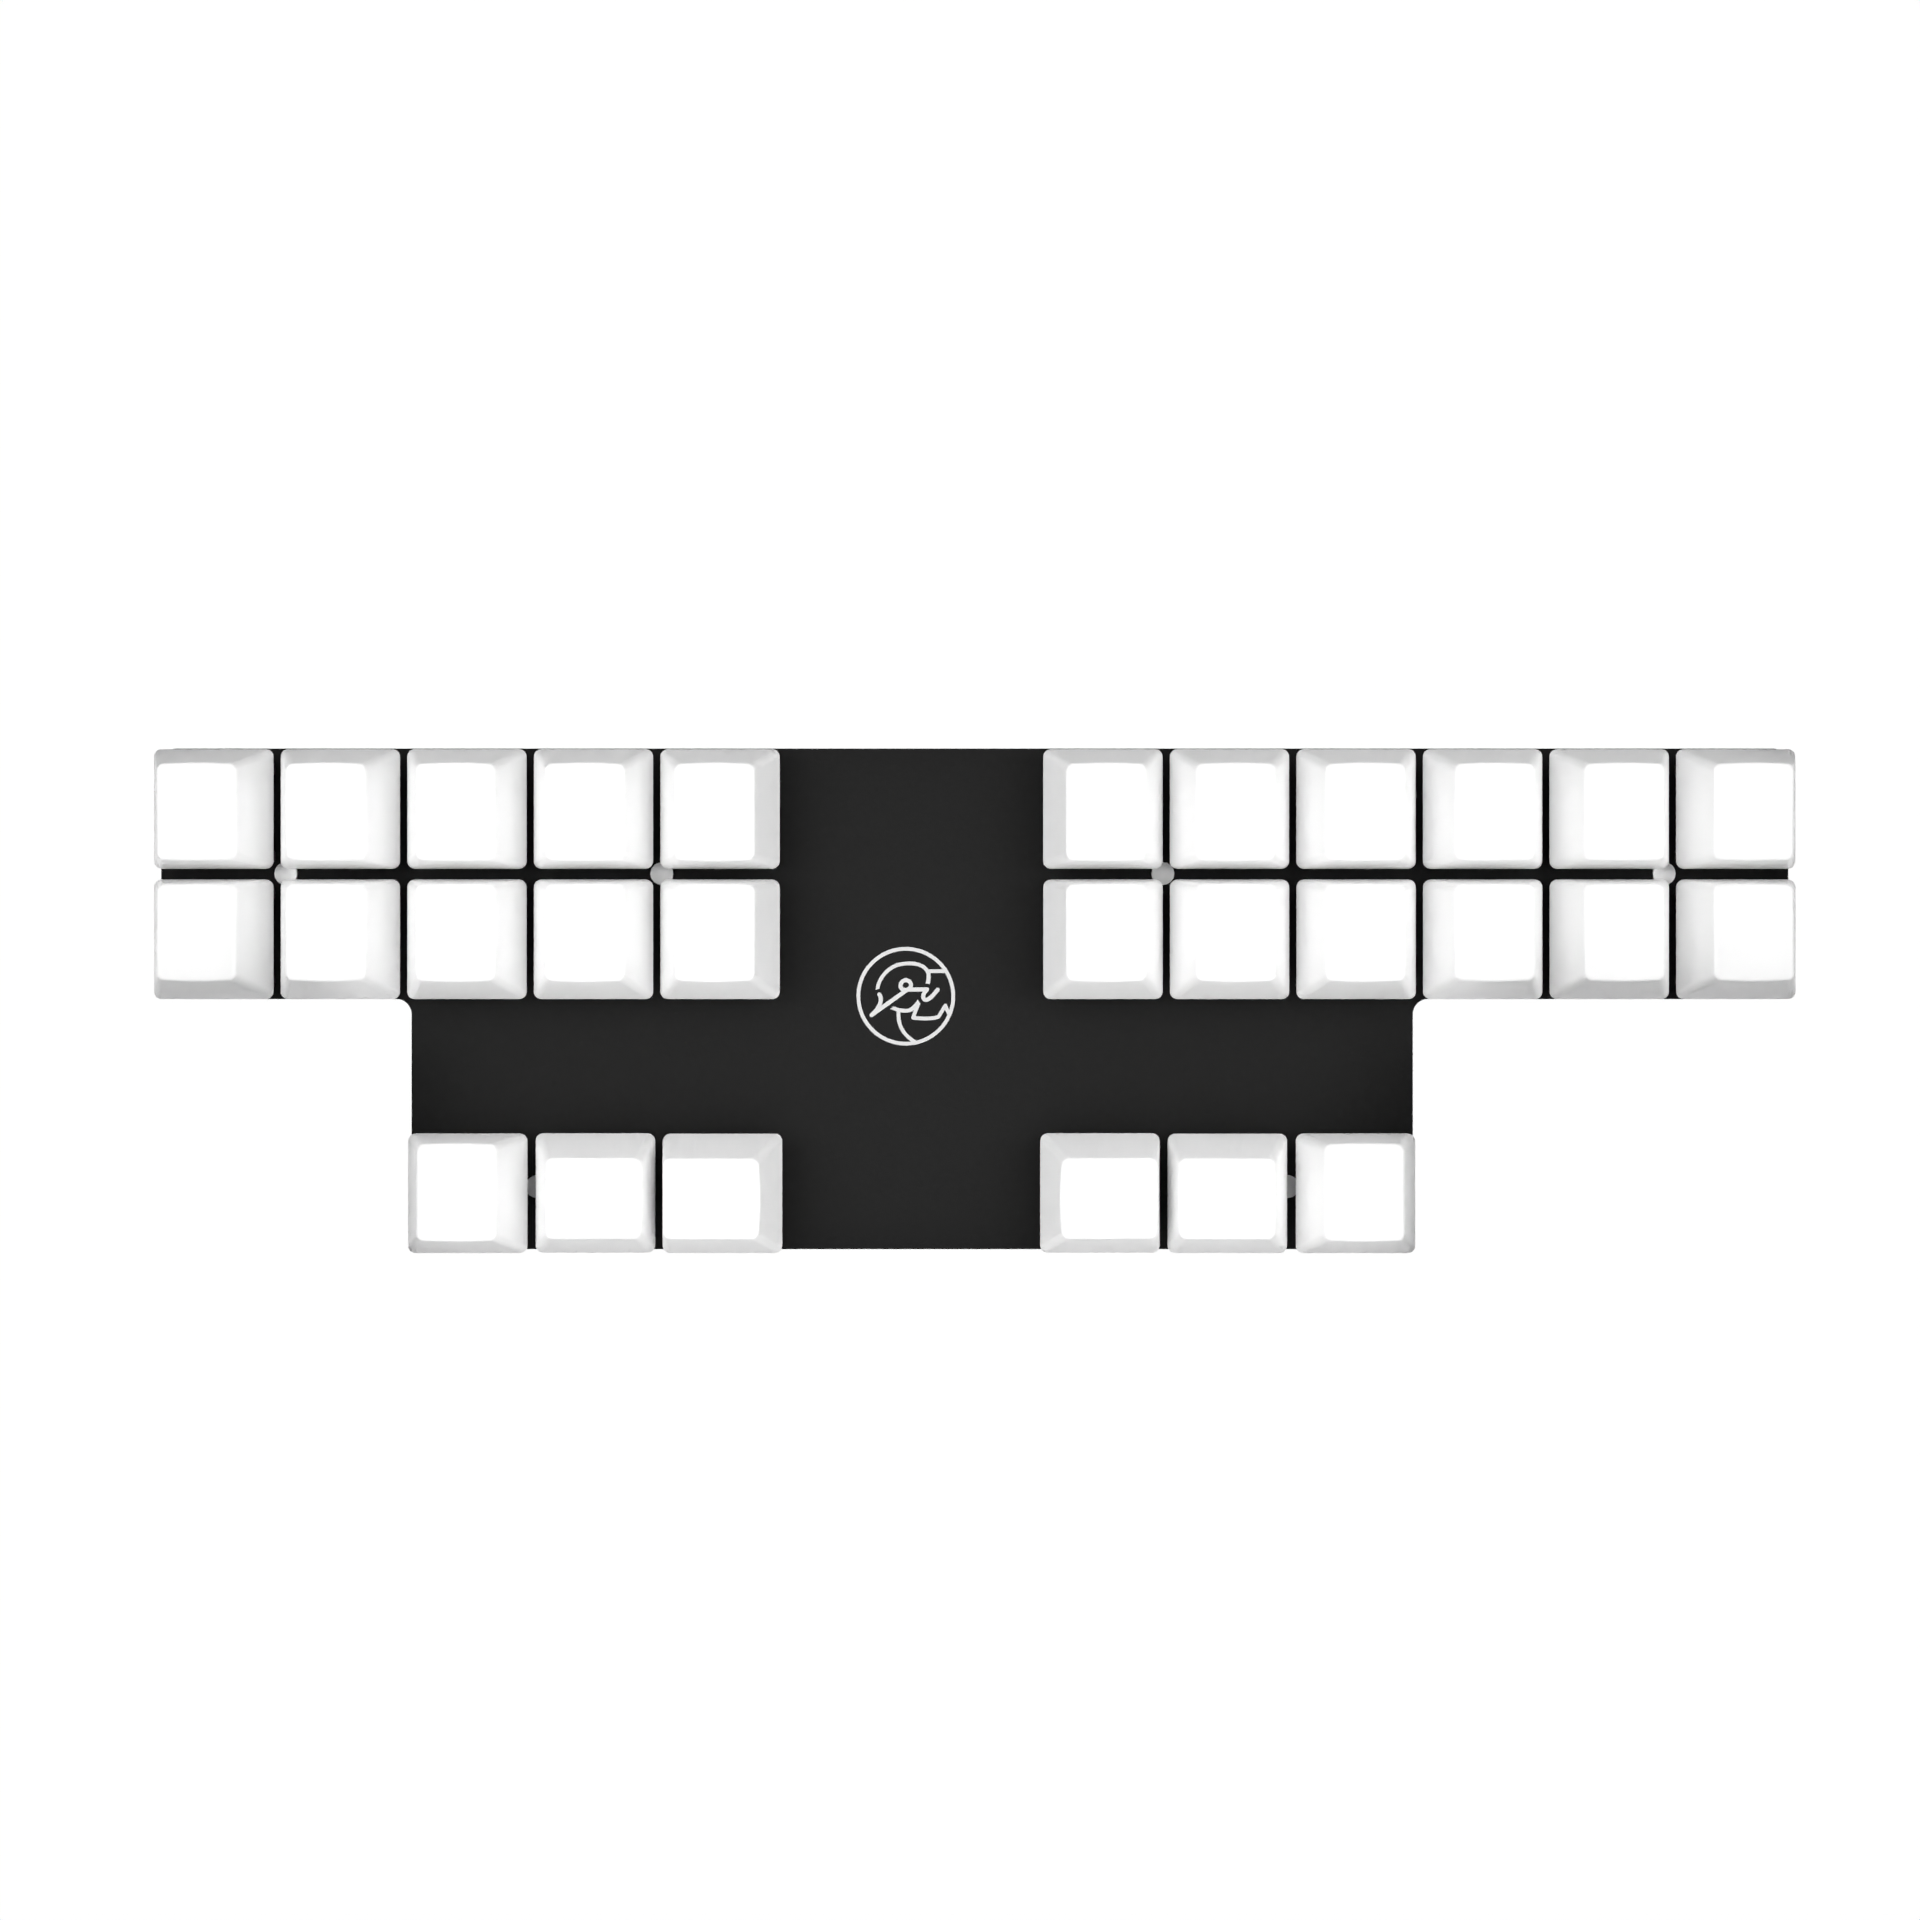
The Layout

Customizations
Be careful when customizing your keyboard because modified keyboards cannot be returned.
The Uni offers a wide variety of customization options. Some popular modifications are listed below, sorted easiest to hardest:
Firmware
Two great firmware customizations include embedded steno and the Utility Belt layout.
Embedded steno lets you use steno on any device such as an iPad, chromebook, or school/work/public computer. Embedded steno allows you to use steno as a plug-and-play device without the need for Plover. Although, Plover has more features and plugins, embedded steno is a great option for steno-on-the-go.
The Utility Beltopen in new window firmware enables your Uni to do press-and-hold modifier keys such as shift, control, command, and alt.
Spring Swap
Learn more about spring swapping here: Spring Swap
Silencing
Learn more about silencing here: Silencing