The Uni v2
The Uni is a unibody split ortholinear mechanical keyboard built for stenography.
How to Build Your Own Uni
Step 1: Buy a PCB
Go buy yourself a cool PCB from StenoKeyboard.comopen in new window. Great! You are done with this step.
Step 2: Buy the other parts
You need to buy these components:
- Pro Micro (or Pro Micro compatible Elite C)
- 28 PCB Mount* Switches (Mx, Alps, or Choc)
- 28 Keycaps
- OEM R3 keycaps used by the Uni can be found on Amazon or AliExpress
- You can 3d print keycaps as well here is a link to some I designed: keycapopen in new window
- 4 Rubber Feet
- Solder and Soldering Iron
- USB Data Cable to connect your Uni to the computer
- plate/case/backplate [optional]
- Stand offs can be at minimum 4mm in length. Screws for 4mm stand offs can be 4mm long.
- Find 3d printable case files here: Caseopen in new window
*PCB mount switches (5 pin) have two additional plastic legs that makes it easier for the switches to stay on the PCB while you solder. Plate mount switches (3 pin) will not align correctly unless you have a plate.
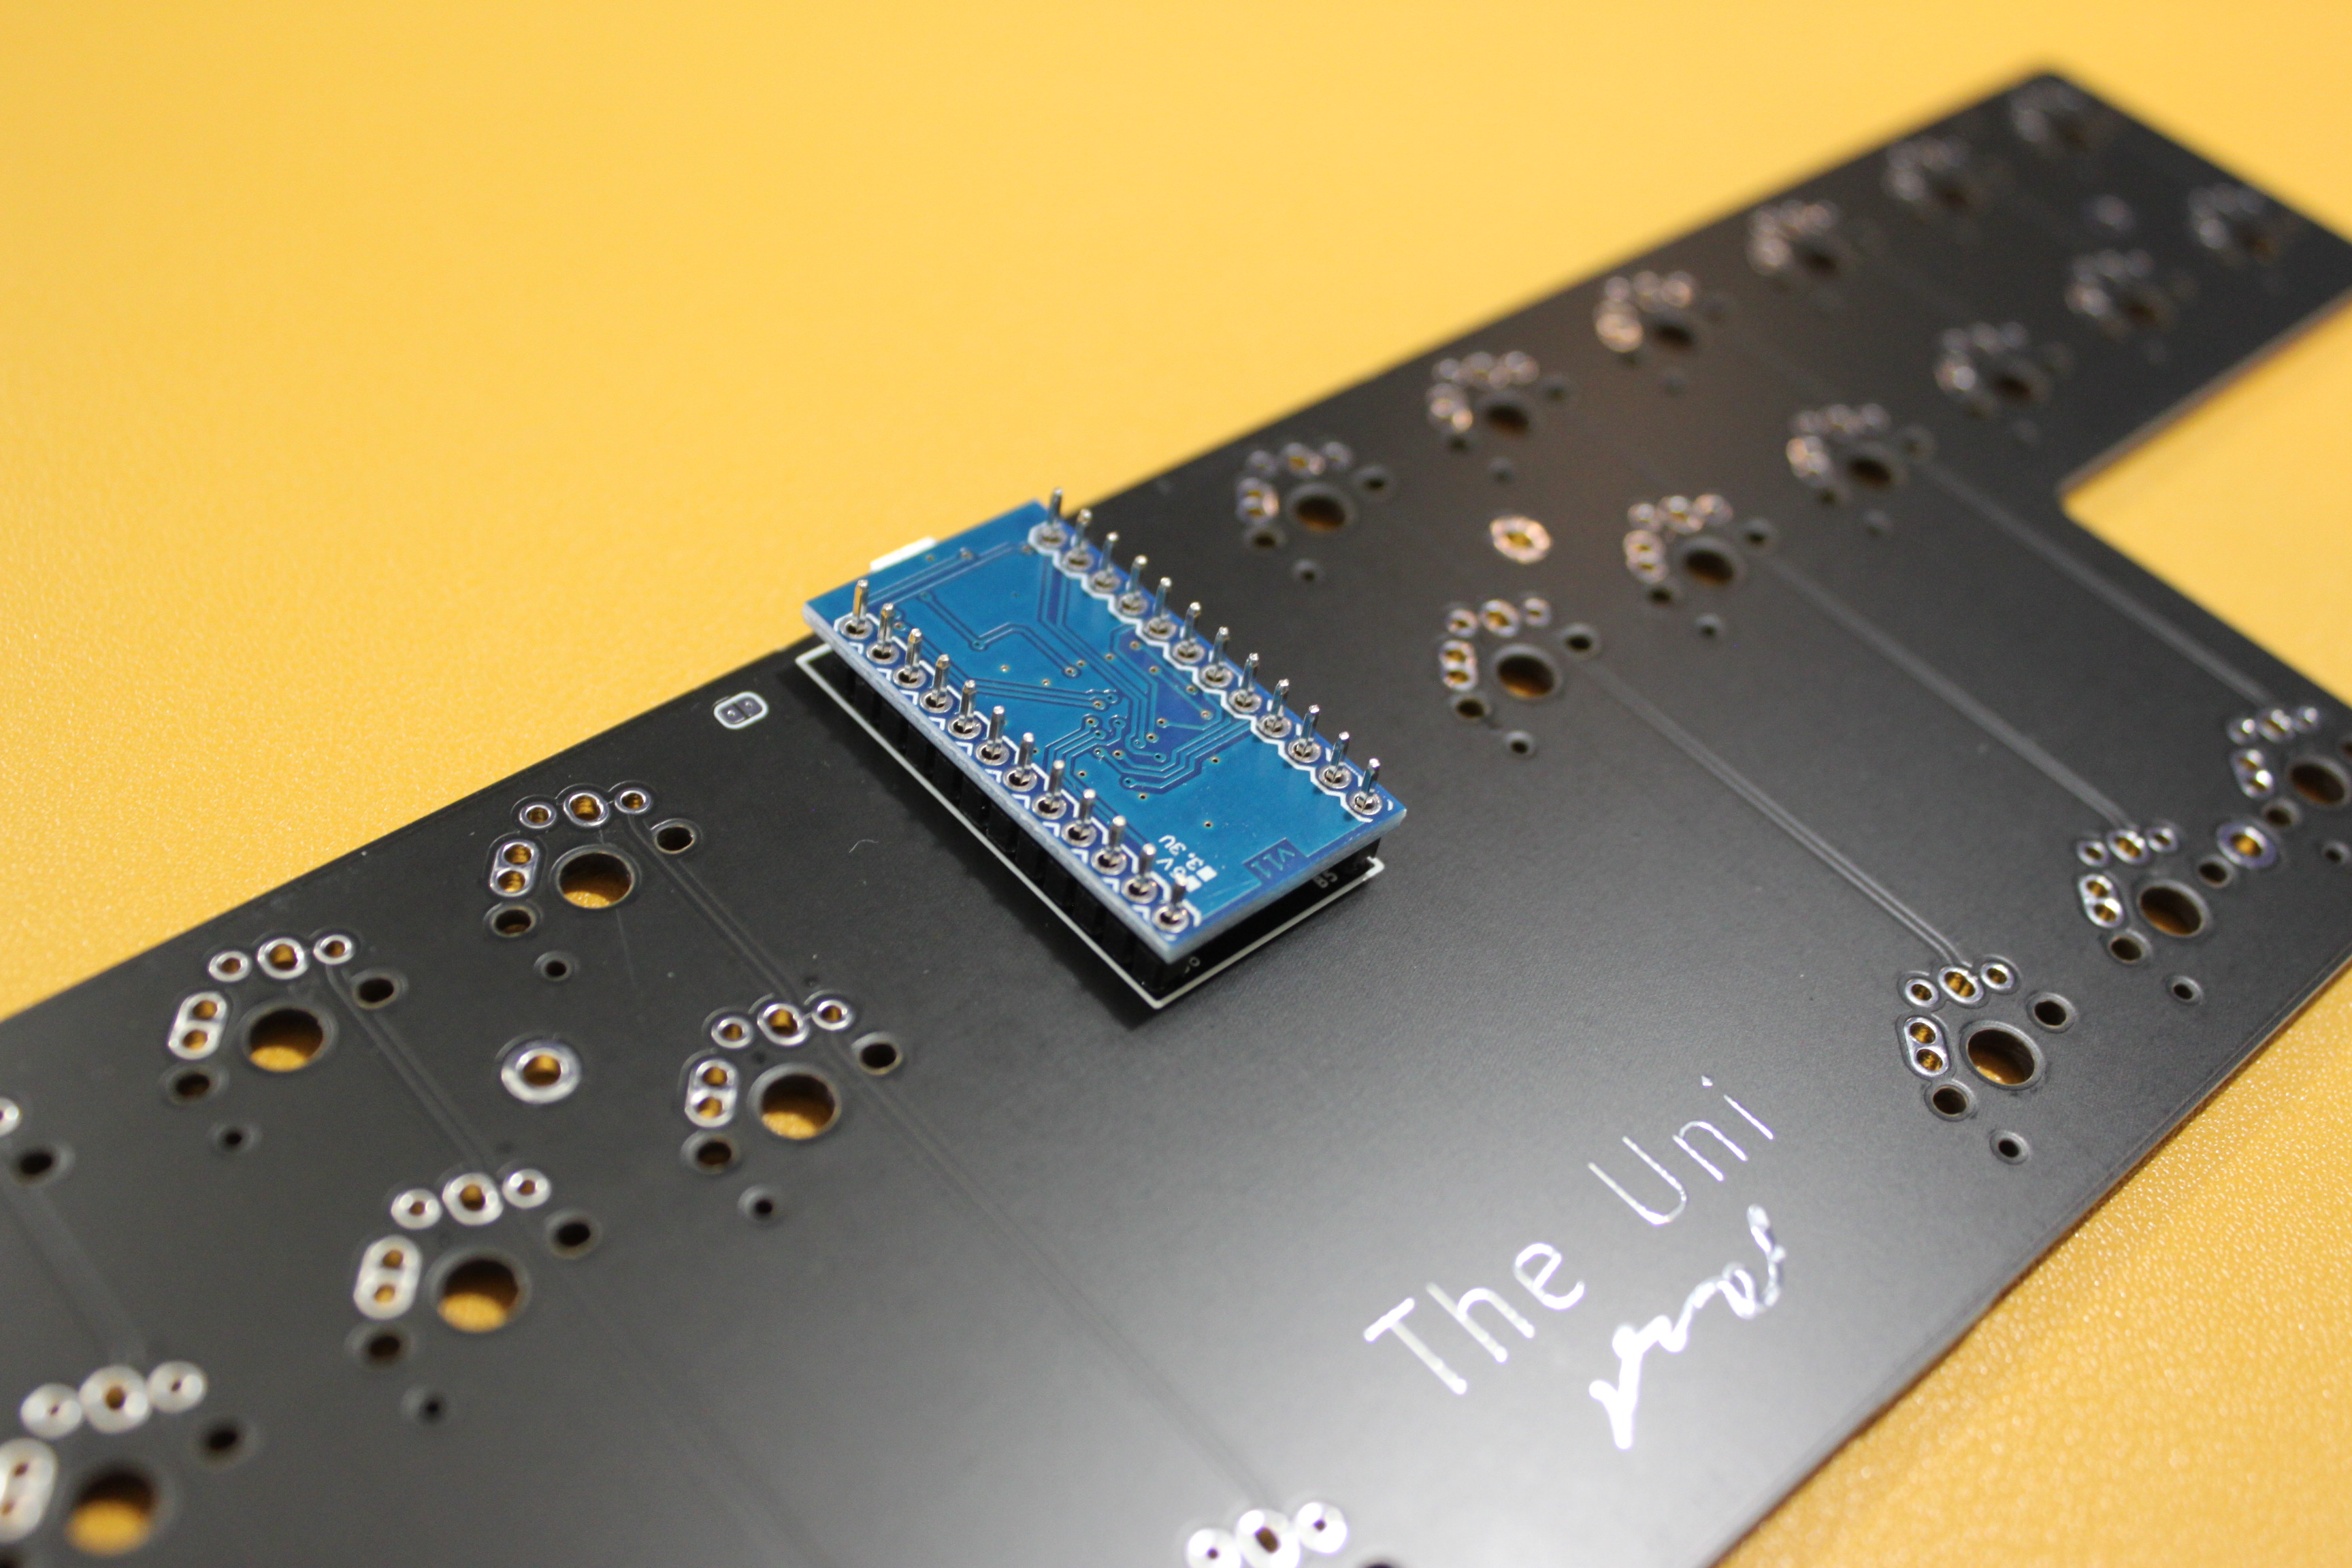
Step 3: Solder the Pro Micro
- Make sure to position the Pro Micro on the side of the board WITHOUT diodes (aka: the front side).
- It is extremely important that you solder the pro micro on so that the smooth side of the Pro Micro is facing up. One way to check is to see if labels on the holes match up.
- You can use a rubber band to keep the Pro Micro in place while you solder.
TIP: Plug in your Pro Micro to make sure it works (aka the computer detects it). On Windows it makes a sound, or you can open qmk toolbox and plug it in. Yellow text will appear showing you that it is detected. Then unplug it to solder.
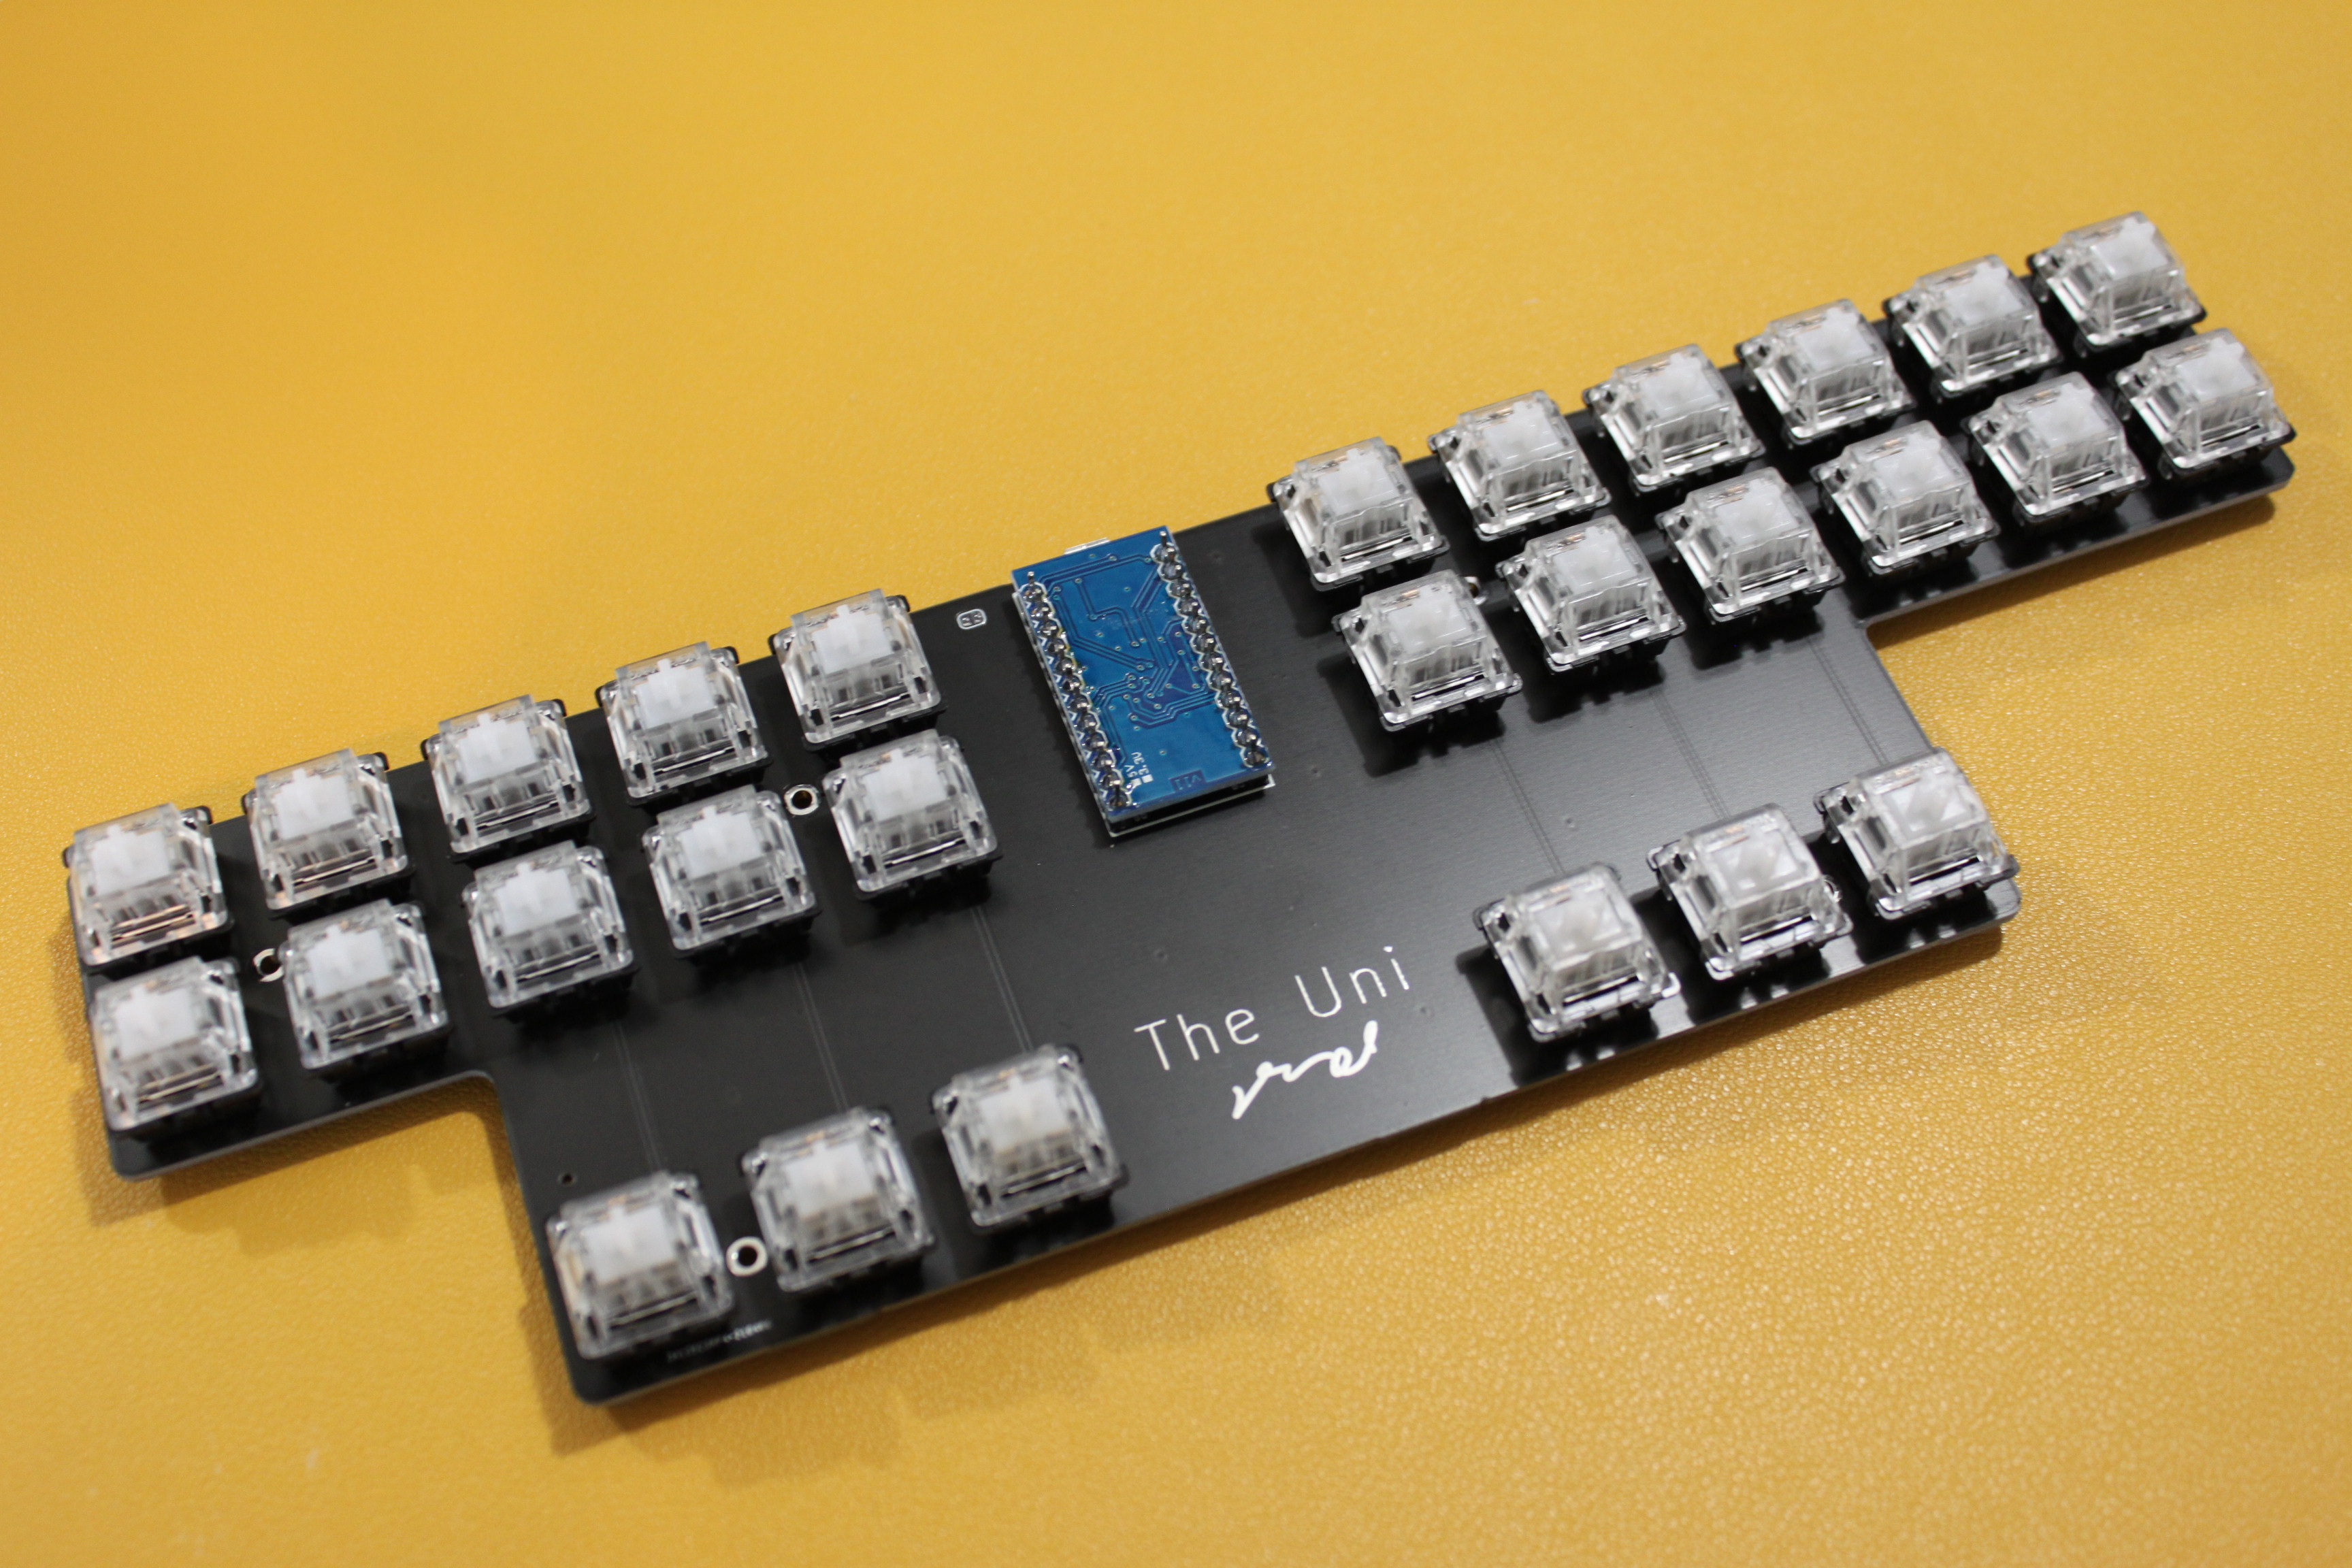
Step 4: Solder the Switches
- Place the switches on the board, if you're using a plate, now is the time to use it.
- Flip the board over to solder. You might want to hold a piece of cardboard on top of the switches while you flip it over so they don't fall off.
- After you've soldered, some switches may be crooked. You can fix this by pressing the switches in while melting the pads, one at a time. BE VERY CAREFUL NOT TO GET BURNED!
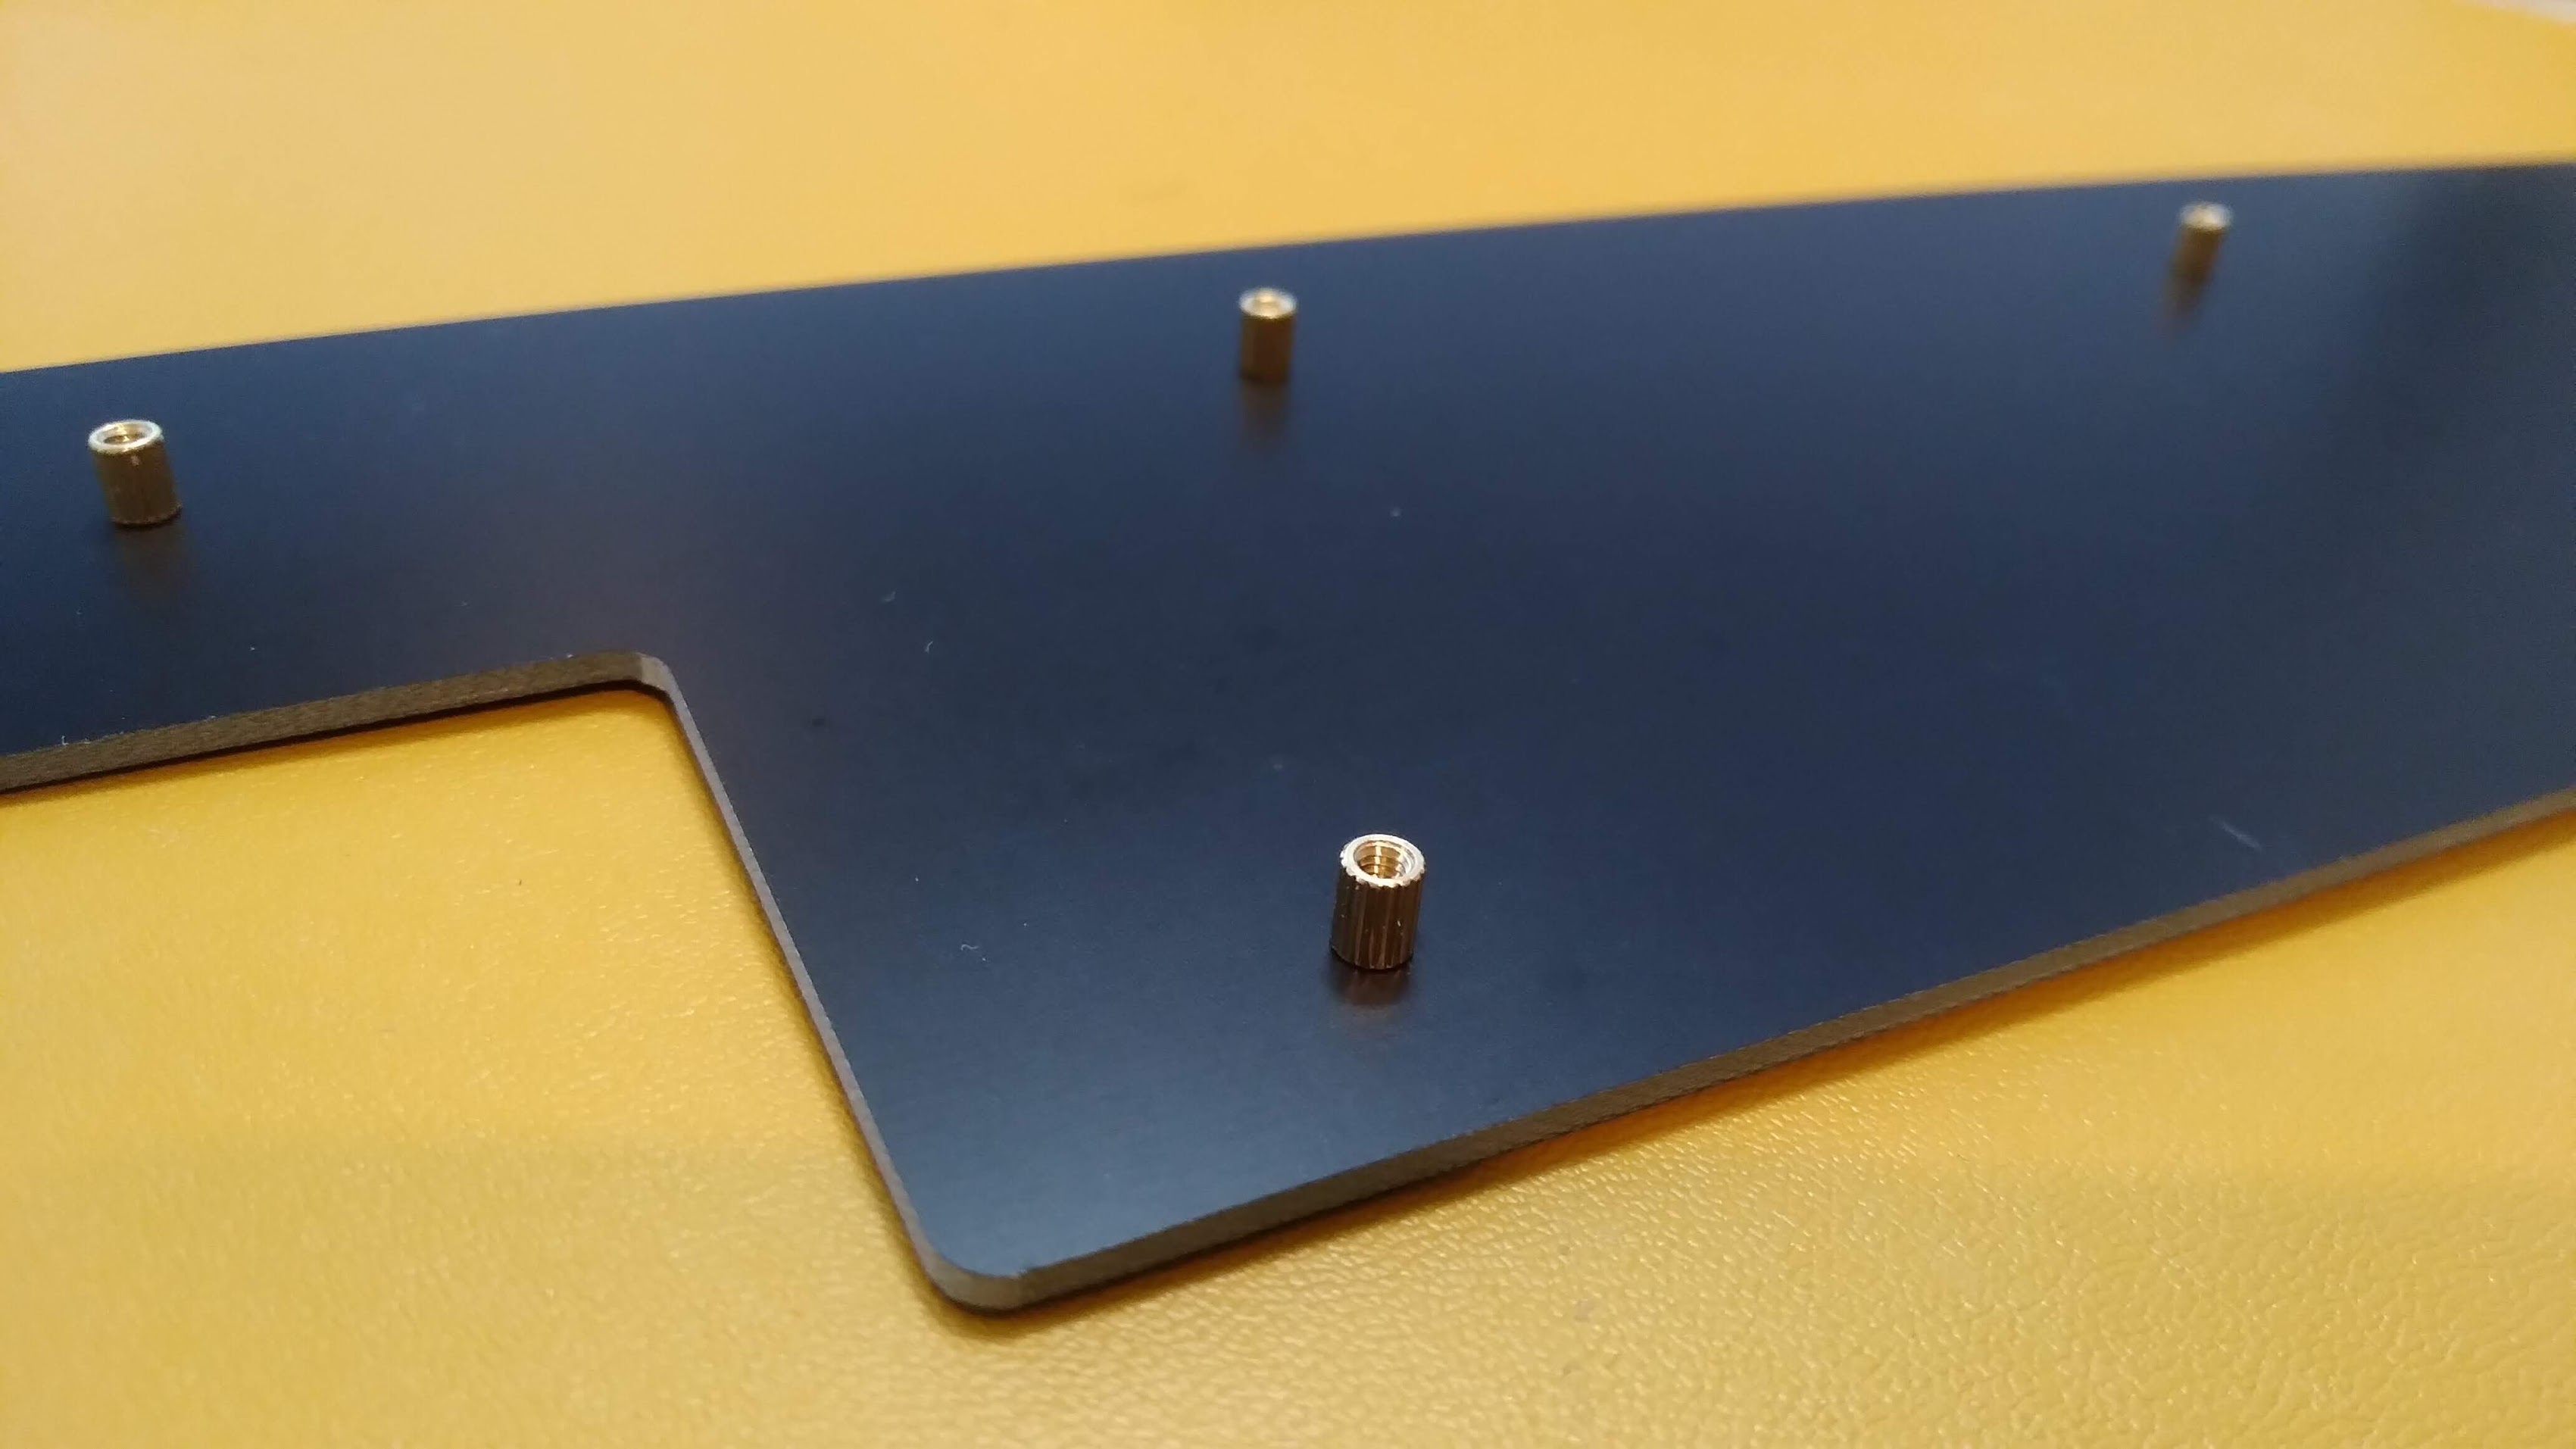
Step 5: Backplate/Case [if you are using one]
- Screw the standoffs to the backplate first, then screw it on to the main PCB.
Step 5: Place the Keycaps and Rubber Feet
- Install the keycap of your choice.
- Rubber feet go on the corners:

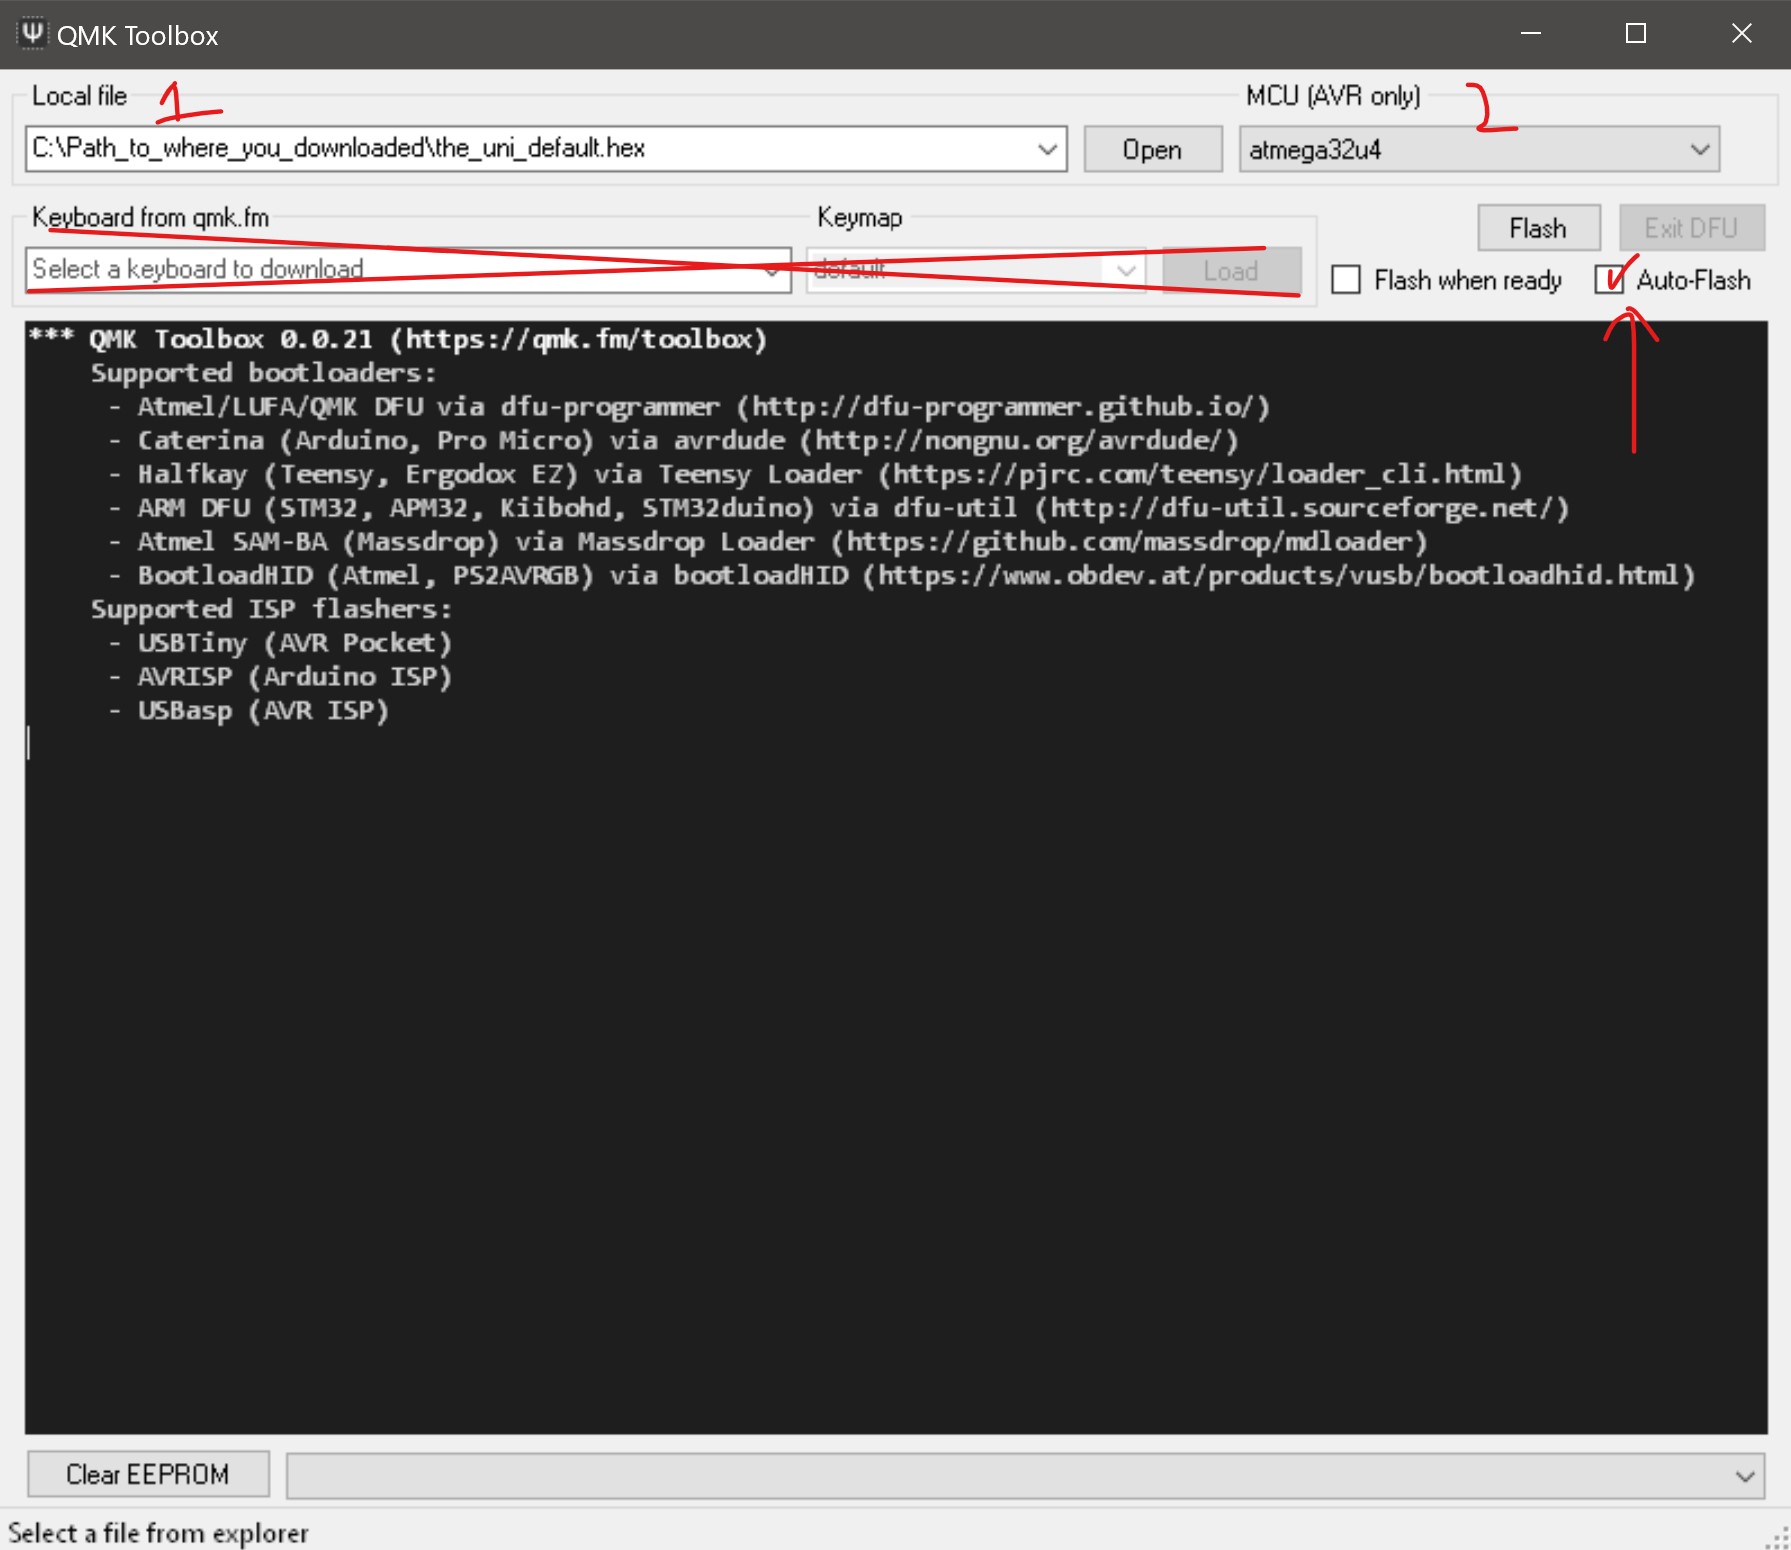
Step 6: Flash it with QMK Toolbox
- Download
the_uni_pro_micro_default.hexfirmwareopen in new window for the Uni v2. ClickCodeand download zip. - Download
qmk_toolbox.exeor.pkgor.zipdepending on your OS QMK Toolboxopen in new window - Open up QMK Toolbox
- Select the_uni_default.hex file that you downloaded
- Make sure it says ATMega32U4 at the top right
- Check Auto-Flash
- Next, plug in the keyboard to your computer and press the reset button on the back.
Step 7: Setup with Plover
- Go to the instructions for setup to setup your keyboard with Plover.